Listen to this article
On This Page
TL;DR
- An online frequency analyzer (spectrum analyzer) shows how much energy your audio has at each frequency, from low rumble to high air.
- Use a long FFT window, a steady loop of the loudest section, and a reference track.
- Fix problems with narrow EQ cuts or noise reduction, then recheck.
- Trust your ears first; the graph confirms what you hear.
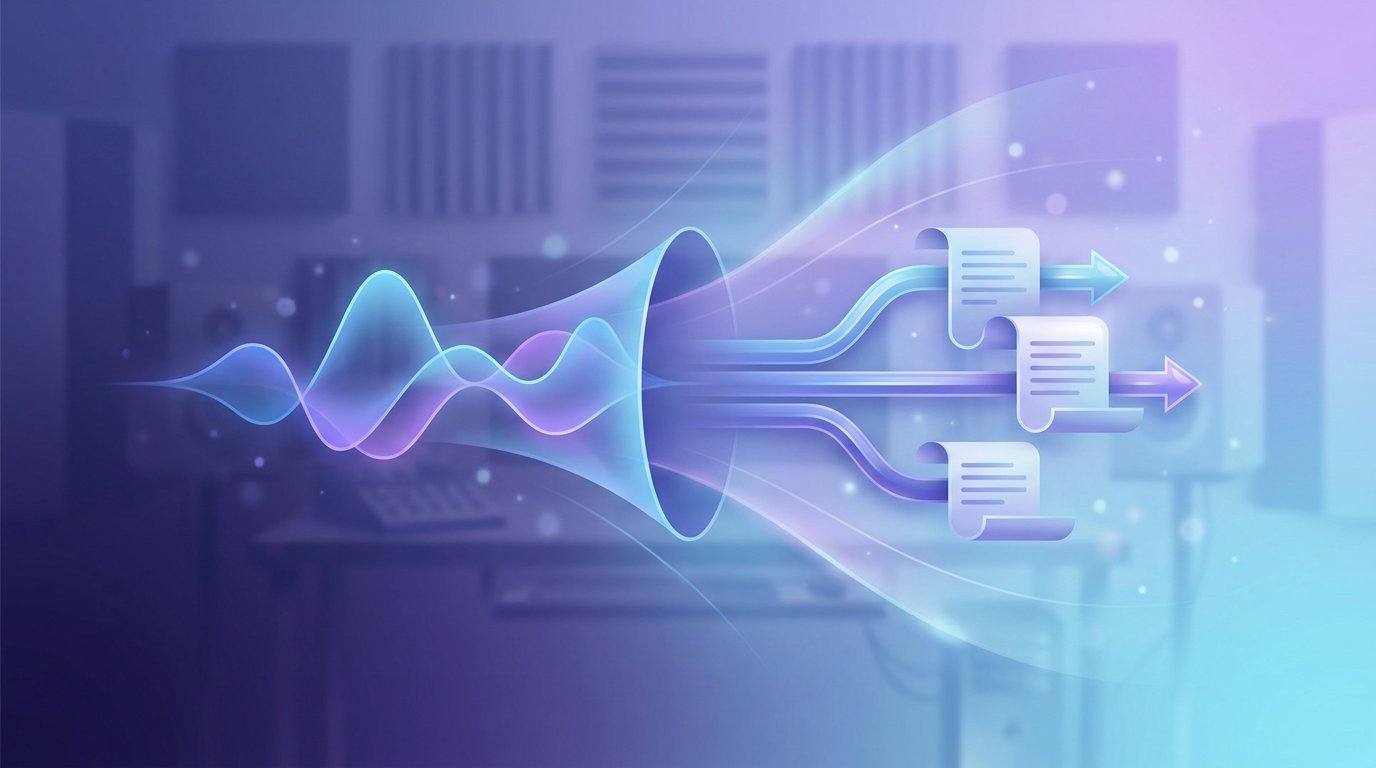
A frequency analyzer online is a browser tool that takes an audio file or live input and plots level against frequency. Most use the browser's built-in audio analysis and an FFT (fast Fourier transform). They are good for finding rumble, hiss, boxiness and harshness in voice, music and podcasts. This guide covers how to read one and what to do with the result.
Do and don't: frequency analyzer best practices
| Do | Don't |
|---|---|
| Analyze a representative, loud section of 10-30 seconds | Judge a whole track from one quiet intro |
| Use a long FFT size (8192 or higher) for tonal problems | Use a tiny window and chase jittery spikes |
| Average the display over time | React to single-frame peaks |
| Compare against a reference track you like | Aim for a flat line |
| Cut narrow problem frequencies, boost gently and broadly | Boost narrow bands to fix a thin sound |
| Level-match before and after every change | Trust a louder version because it sounds better |
| Check what the tool does with your upload | Upload unreleased or private audio without checking |
| Re-check with the analyzer after each EQ move | Stack five EQ moves and hope |
The sections below justify each row.
What does a frequency analyzer actually show?
The horizontal axis is frequency, usually logarithmic from 20 Hz to 20 kHz, which roughly matches human hearing. The vertical axis is level in dB. A peak means a lot of energy at that frequency. A dip means little.
There are three common views:
- Spectrum (line graph): energy by frequency right now, often with an average overlay.
- Spectrogram: frequency over time, with color for level. Good for finding clicks, hum that comes and goes, and where a vocal sits.
- Octave or band bars: energy in fixed bands. Easier to read, less precise.
For diagnosis, start with the averaged spectrum, then switch to a spectrogram when something is intermittent.
Frequency ranges cheat sheet
These ranges are conventional rules of thumb, not laws. Voices and instruments vary.
| Range | Typical name | What lives there | Common problem |
|---|---|---|---|
| 20-60 Hz | Sub | Kick fundamentals, bass rumble, HVAC and handling noise | Rumble that eats headroom |
| 60-250 Hz | Low / bass | Bass body, warmth of voice | Boominess, proximity buildup |
| 250-500 Hz | Low mids | Fullness | Mud, boxy room sound |
| 500 Hz-2 kHz | Mids | Core of vowels and most instruments | Nasal or honky tone |
| 2-5 kHz | Presence | Speech intelligibility, attack | Harshness, fatigue |
| 5-10 kHz | Brilliance | Sibilance (s, sh), cymbal bite | Sharp s sounds |
| 10-20 kHz | Air | Shimmer, breath | Hiss, or lost highs from compression |
Best practices, with reasoning
1. Analyze a representative section
Spectra change with content. A quiet intro tells you about the noise floor, not the mix. Loop the loudest, most typical 10-30 seconds. For speech, choose a passage with normal talking, not a pause or a laugh.
2. Pick the right FFT size
A bigger FFT window gives finer frequency detail but smears timing. A smaller one reacts faster but blurs neighboring frequencies. For tone and mud, use a large window. For transients such as clicks or plosives, use a smaller one or the spectrogram. If the tool has no setting, treat its display as a rough guide.
3. Average, do not chase peaks
A raw display flickers. Use averaging or peak hold over several seconds. A real problem shows up as a consistent bump. A single spike is usually just a loud note.
4. Compare against a reference, not a flat line
A finished music track is rarely flat. Most have more energy in the lows and a gentle slope toward the highs. Load a professionally released track in a similar style, level-match it, and compare shapes. For voice, compare against a podcast or audiobook you think sounds good. Your goal is a similar balance, not a perfect curve.
5. Cut narrow, boost wide
Resonances such as a ring at 300 Hz are narrow, so a narrow cut removes them with little collateral damage. Missing brightness is broad, so a gentle wide shelf is more natural. To find a resonance, sweep a narrow boost across the range until it jumps out, then cut there.
6. Level-match before judging
Louder sounds better. If your EQ move raises the overall level by 2 dB, you will prefer it for the wrong reason. Match loudness before you compare A and B. This also applies when comparing analyzers: different tools scale their displays differently, so read the shape, not the absolute numbers.
7. Know what is noise and what is tone
Hum shows as narrow spikes at 50 or 60 Hz and their harmonics (100/120, 150/180 and so on). Hiss shows as a broad, raised floor in the highs. Room reverb muddies the low mids. Different problems need different fixes, covered next.
8. Check where your file goes
Some online tools process audio locally in your browser. Others upload it to a server. Read the privacy notes before using unreleased tracks, client calls or anything under NDA.
Fixing what you find
| What you see | What you hear | Fix |
|---|---|---|
| Narrow spikes at 50/60 Hz and multiples | Hum | Narrow notch cuts, or noise reduction |
| Raised broad floor above 5 kHz | Hiss | Noise reduction |
| Bump around 200-400 Hz | Mud, boxy sound | Cut 2-4 dB, medium-narrow |
| Bump around 3-5 kHz | Harsh, tiring | Small cut, or de-esser for 5-8 kHz sibilance |
| Energy below 40 Hz on speech | Rumble, pops | High-pass filter around 70-100 Hz |
| Highs fall off a cliff near 16 kHz | Dull, dull-sounding file | Check the source encoding; EQ cannot restore it |
Analyze parts, not just the whole
A full mix can hide the cause. If a bump at 250 Hz could be the bass, the guitar or the vocal, split the track and look at each part alone. A stem splitter separates vocals, drums, bass and other elements so you can run each through the analyzer. If you only need an instrumental or an acapella to inspect, the free vocal remover does that job.
Once you know which element is the problem, apply the EQ in your editor or in the AudioPod DAW, then re-analyze to confirm the bump moved.
Online analyzers versus desktop tools
| Option | Strengths | Limits |
|---|---|---|
| Browser-based analyzers | No install, quick checks, easy to share | Fewer settings, upload concerns on some |
| Audacity | Free, has a Plot Spectrum view and offline analysis | Manual workflow, dated interface |
| GarageBand | Simple, built into Apple devices | Basic analysis tools, Apple only |
| Dedicated plugins in a DAW | Real-time, precise, per-track | Cost, learning curve |
For a quick diagnosis, an online tool is enough. For ongoing mixing, a plugin in your editing environment is more practical because you can see changes while you make them. Features change often, so check each vendor page for current capabilities.
A quick workflow you can repeat
- Load a 20-second section of your audio into the analyzer.
- Set averaging on and a large FFT size if available.
- Note any narrow spikes (hum, resonance) and broad bumps (mud, harshness).
- Load a reference track at matched loudness and compare shapes.
- Make one EQ or noise reduction change at a time.
- Re-run the analyzer, then listen on headphones and speakers.
- Stop when it sounds right, not when the graph looks tidy.
If you are cleaning speech for a podcast or audiobook, do noise reduction first, EQ second, and loudness last. Cutting noise before EQ means you will not boost the hiss when you add brightness.
Common mistakes
- Treating the analyzer as a verdict. It describes, it does not judge. A bass-heavy genre should show strong lows.
- Over-correcting quiet resonances. If you cannot hear it, leave it.
- Comparing screenshots from different tools. Scaling and smoothing differ.
- Analyzing a lossy file and blaming the mix. Low-bitrate encodes often cut everything above about 16 kHz.
- Skipping the high-pass on speech. Rumble below 80 Hz wastes headroom and makes loudness normalization pull your voice down.
FAQ
What is the best free frequency analyzer online?
There is no single best one. Look for a tool that accepts file uploads, shows a spectrogram and an averaged spectrum, and explains whether files stay in your browser. Compare a few on the same clip.
Can a frequency analyzer fix my audio?
No. It only shows you what is there. You fix issues with EQ, filters or noise reduction, then check the result.
What frequency range matters most for voice?
Most speech intelligibility sits between about 1 and 5 kHz, with warmth below 250 Hz and sibilance around 5-8 kHz. These are guidelines and vary by voice.
How do I find a hum in my recording?
Look for narrow spikes at 50 or 60 Hz and evenly spaced harmonics above them. A notch filter or noise reduction removes them.
Does an online analyzer upload my audio?
It depends on the tool. Some analyze locally in the browser, others send the file to a server. Check the privacy page before using sensitive audio.
Why does my spectrum look different in two tools?
Window size, smoothing, averaging and scaling all differ. Compare the shape and relative differences, not exact dB values.
Do I need to analyze every track?
No. Use it when something sounds off and you cannot name the cause, or when you want to compare against a reference.
If you are preparing audio for production, see pricing for what each AudioPod plan includes, or browse more guides on the blog.